Home Improvement: 5 Tips for Laying Flooring
29 August 2018
Home improvement can be satisfying when it all goes to plan - though this can be difficult if your DIY experience limited. Taking on large jobs like laying flooring might seem ambitious, but if you take your time and do plenty of research on the subject, you’ll find that it isn’t as big a job as you thought it would be.
The key is not to rush into it, or leave yourself too little time to complete the entire floor. Especially in key areas such as the hall, kitchen or bathroom, tiling should be done in an allotted time. If you’re a home improvement amateur, it’s worth giving yourself more time than you think you'll need.
Have a read of our tips to get you started below, giving you everything you need to think about before laying your first floor.
Choose Your Flooring
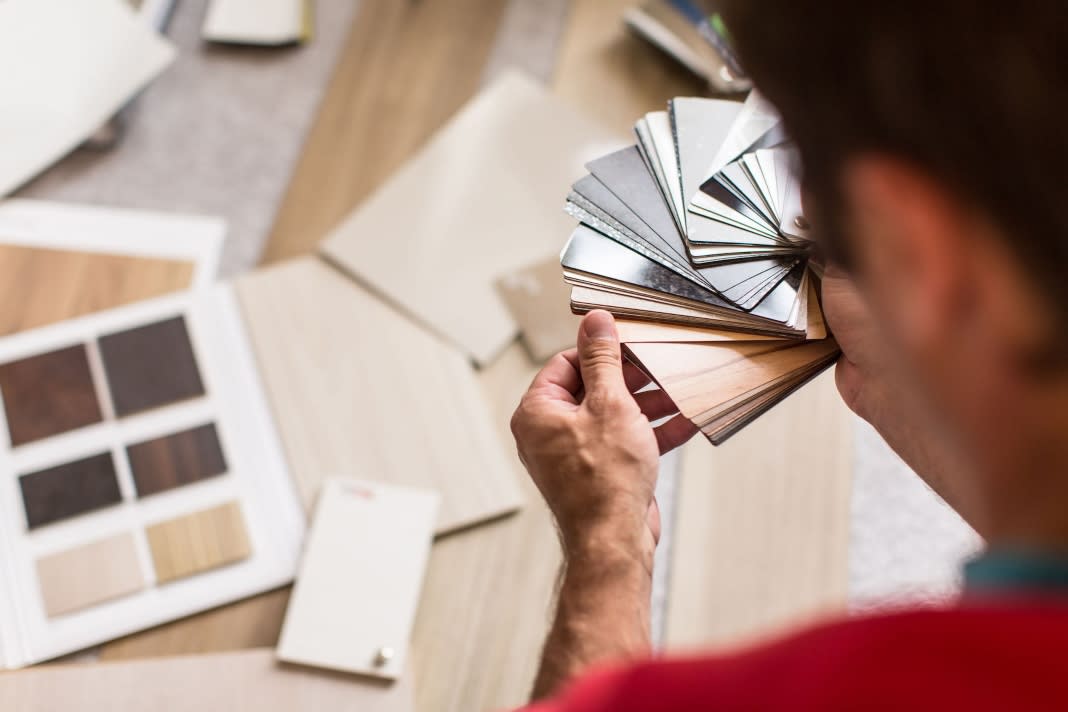
Since the job of laying flooring should be a permanent one, you need to be 100% sure of which type of tiles or material you would like to lay. Do plenty of research to make sure you know exactly what style, colour and type of tiles you might want to go for - and make sure that they are designed for use in the room they’re going to be installed in.
Tiles
Flooring tiles can leave a fantastic effect but can be difficult to lay for those who haven’t had much experience before. You will also need plenty of equipment such as adhesive, tile spacers, grout, a tile cutter, a trowel and a spirit level. While this is worthwhile, do not attempt without at least doing your research; consult with someone who has previous experience in laying tiles.
Carpet
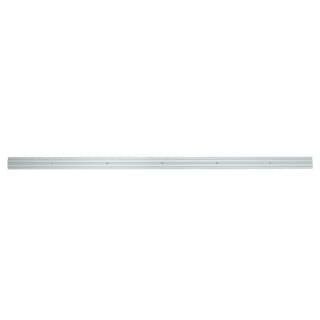
While this isn’t usually a job you would do yourself at home (nowadays there are plenty of carpet fitters or companies that will install it for you as standard), you can still achieve a carpeted floor by using carpet tiles. Our Denim Carpet Tile is incredibly easy to install with carpet spray adhesive, and leaves a reliable carpeted surface. Don’t forget our Carpet Cover Strip as a way of separating rooms.
Vinyl
Alternatively, there are plenty of other options when it comes to what style of flooring you can choose. You can often achieve the same effect through using materials that are much easier to install. Our Kingmann Carlsbrooke Grey Stripe Vinyl comes in rolls and is super easy to install, ideal for use in the bathroom since it's water-resistant too.
Wood
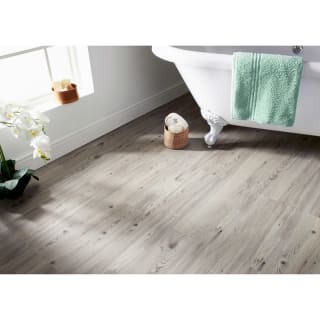
If you are thinking of going for the rustic look in your house but aren’t sure where to start, flooring can really make an impact. Once again, if you're a beginner without much experience of woodwork you might want to opt for an easier approach, such as using our Self-Adhesive Wood Effect Floor Planks that are even easier to install as you don’t even need to buy adhesive!
Measure Up

The most important part of preparing to lay flooring is to measure the exact space you have to work with. Try using our Stanley Tape Measure to start you off. If you have chosen the type of flooring you are going to use it means that you will also have an indication of how large each tile or section is going to be. With some brief calculations you can then decide exactly how many tiles or sections you will need.
It can become slightly complicated when it comes to rooms that are awkwardly shaped, but this may just require you to cut down the material you are using to fit. Take your time and measure out the exact additional pieces you need before cutting, so you aren’t wasting any material.
Prepare the Area

This part can either be very simple or very complicated. If you already have a completely flat surface to work with then it shouldn’t be too hard to clean the surface with a sponge and warm water and even use a vacuum to remove any loose debris.
However, if your surface is uneven or is damaged in any way, you might have a lot more work on your hands. The best way to achieve a completely flat surface is usually by laying concrete and flattening it, though without professional expertise you may struggle. This part is vital to ensuring that your flooring comes out looking professional so you might want to get a tradesman in to complete this prior to continuing.
Perform a ‘Dry Lay’
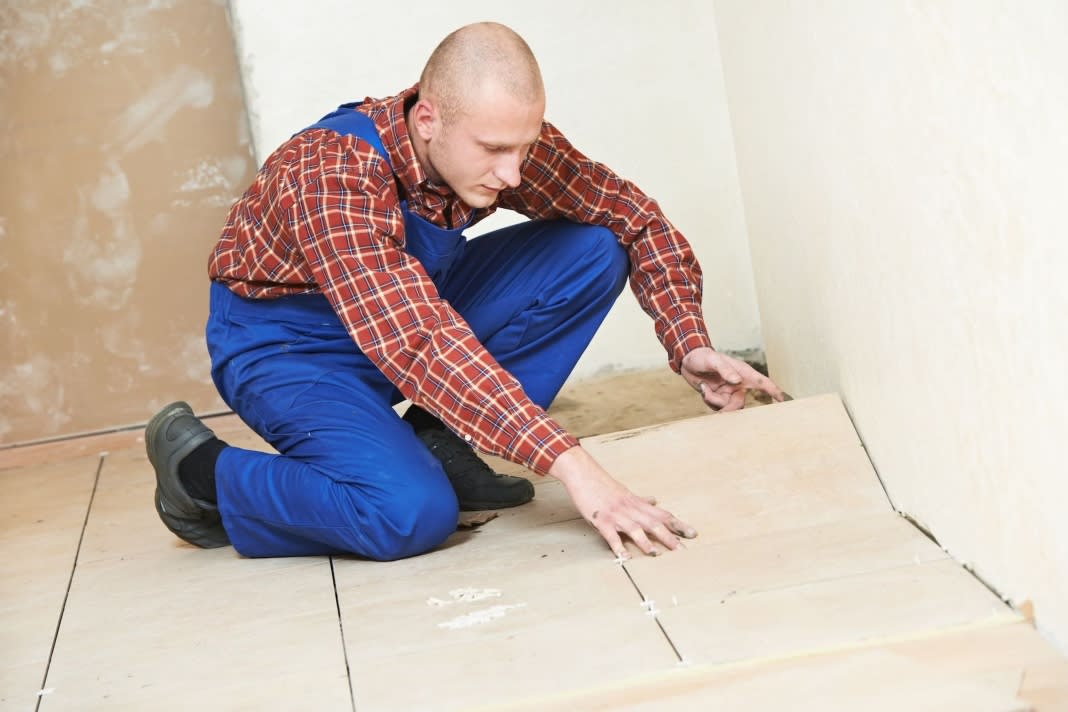
Now that you’ve measured up and made sure you have a clean area of floor to work with, it’s time to perform a ‘dry lay’. This means laying your flooring down without any adhesive to make sure you have made the right calculations and what you have is going to fit into the space you’ve allocated.
Rather than laying tiles from the wall into the centre, it is advised that you lay from the very centre of the room outwards to get a symmetrical, even lay. To do this, use the following steps:
- Measure one wall and mark off the midpoint in pencil
- Measure the opposite wall and do the same. Use a piece of string and stretch tightly in between
- Do the same with the remaining two walls and once you have stretched a second piece of string across the room, mark off exactly the centre of the space.
- Lay a tile exactly in the centre and make a line that stretches to one wall. If the space is less than half a tile then try and move the line of tiles until you have at least half a tile to work with
- Adjust the tiles until you have at least half a tile from each wall. This will make it easier to cut tiles and position them around the edge of the space
Apply Adhesive
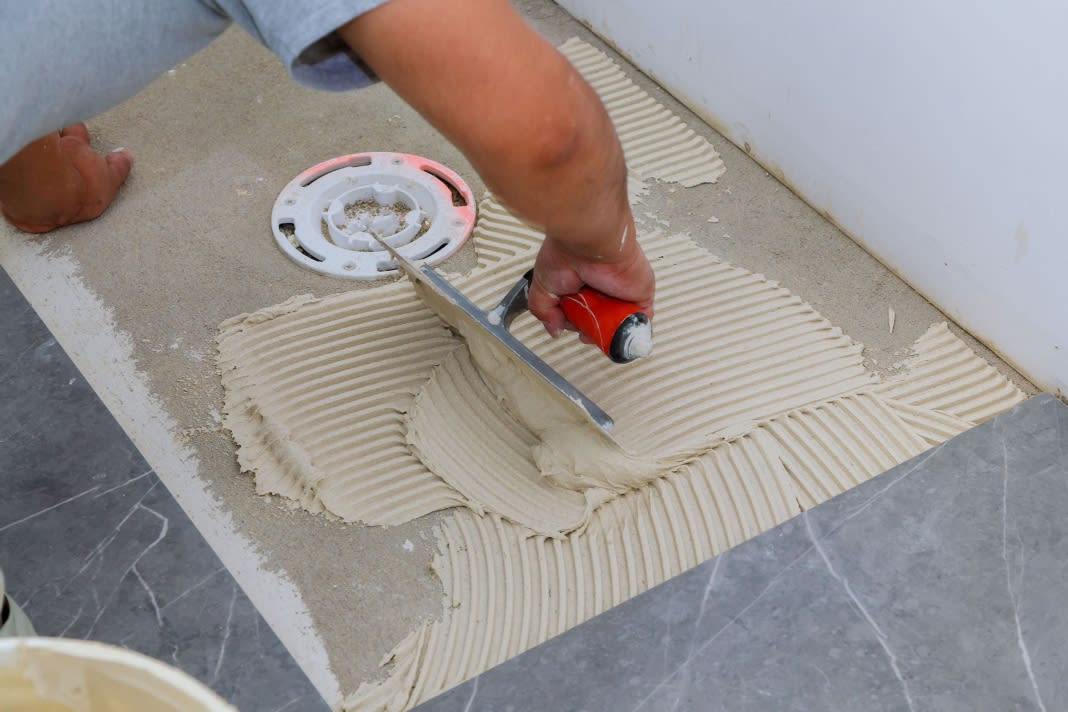
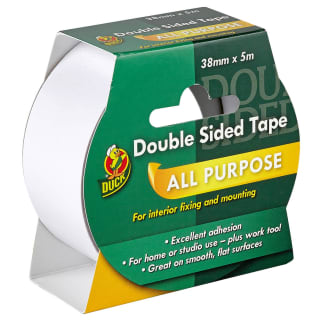
Last but not least, lay your adhesive (or simply lay the flooring if it's self-adhesive). Make sure you have the correct adhesive for the flooring you are using. For example our UniBond Double Sided Tape is great for permanent fixtures but might not be ideal for heavy tiles - instead use high bond strength adhesive on concrete and flexible adhesive for wood.
Remember this needs to be exact so don’t be afraid of going back to measure and make sure you have allocated the correct space. The last thing you want to be doing is ripping up new tiles! As the old adage goes: measure twice, cut once (or ‘lay once’ in this case).
Have you been laying flooring at home? Upload your best pictures over on our on Facebook, Twitter or Instagram pages!
